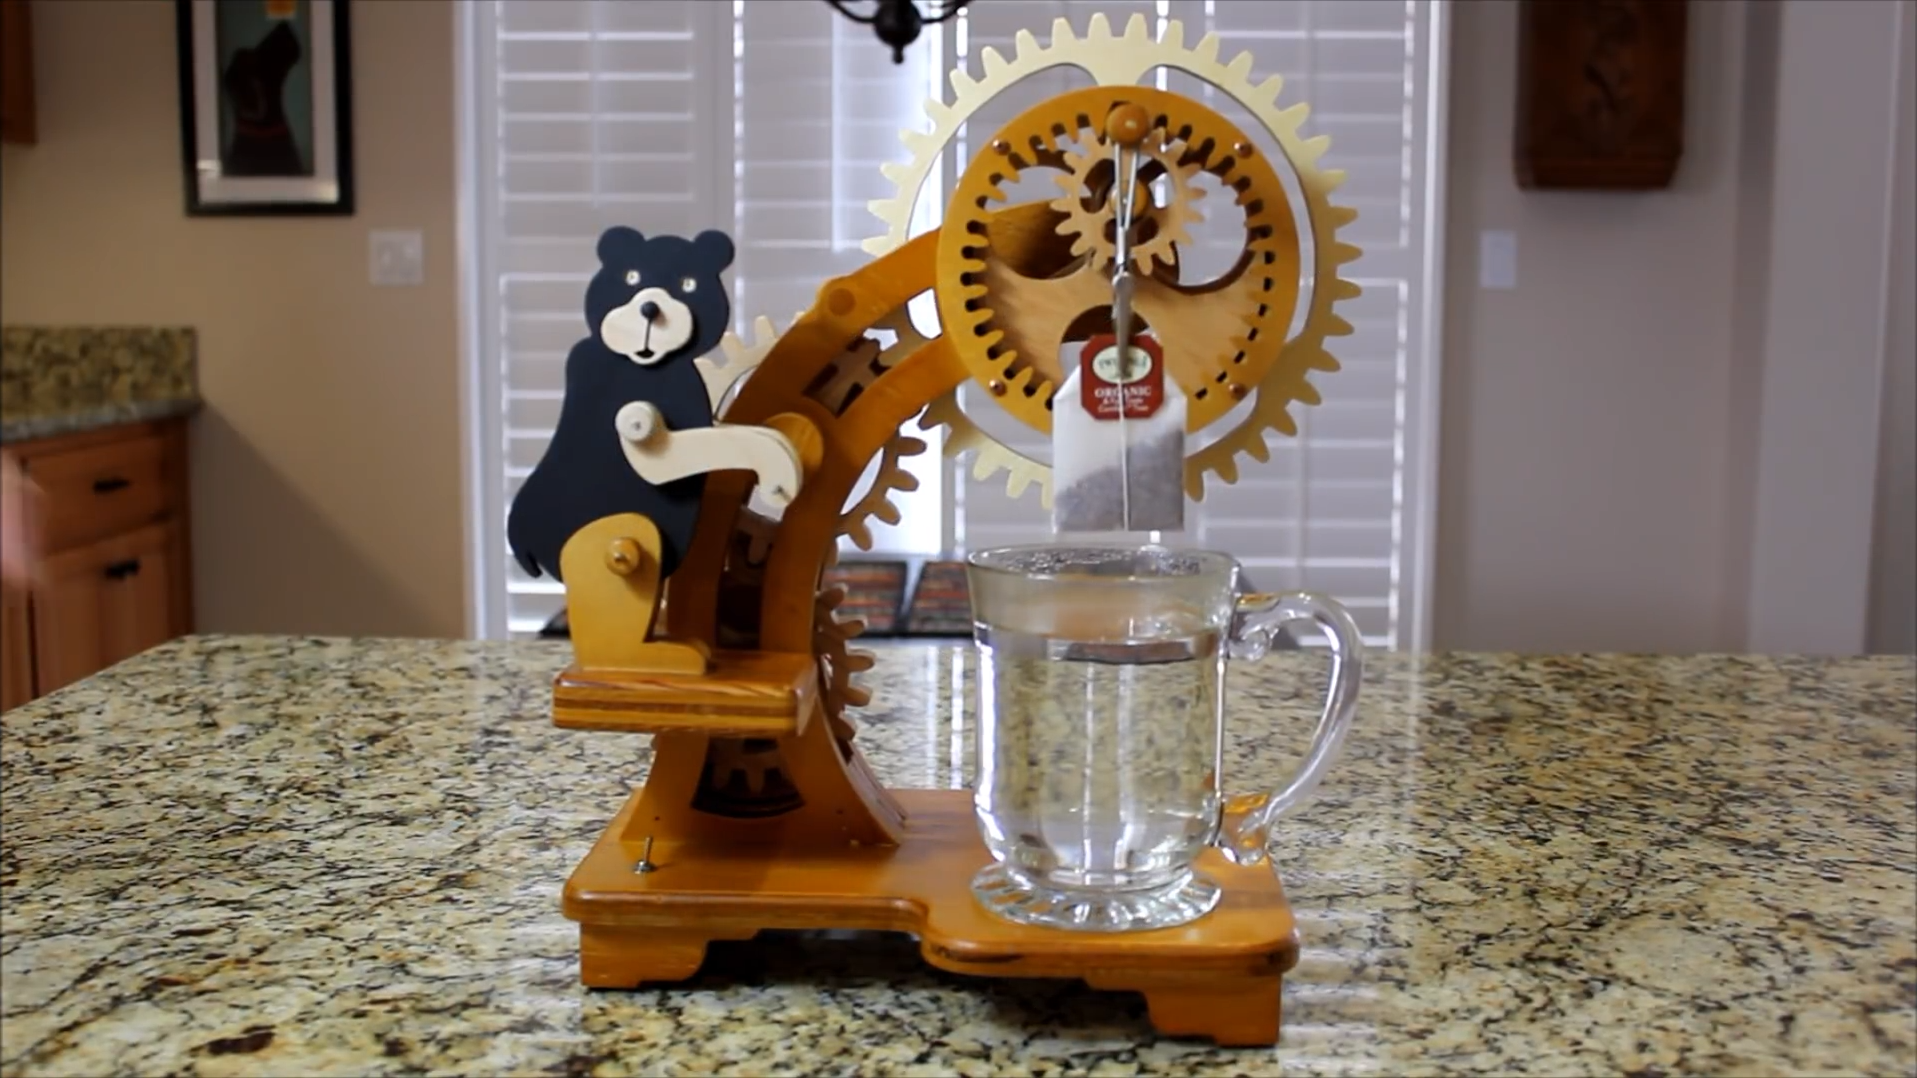
Introduction:
This project covered the foundation of procedural animation techniques as well as the volume simulation. The reference video is an excellent combination of effects elements since it demonstrated the whole process of automatic tea dipper kinetic animation. It also brings the challenge for this project because the fluid simulation interacting with smoke is an effect that I have never encountered before, including the shader tweaks.
Techniques:
- Two-points constraints & Gear animation algorithms
In this project, the key animation is based on two-points constraints and gear movement. To achieve the simulation look but not to use RBD method, it is necessary to calculate the angle as well as the position for moving components. The dot product example provided on this site http://deborahrfowler.com/MathForVSFX/DotProduct.html is a general reference for starting modification.
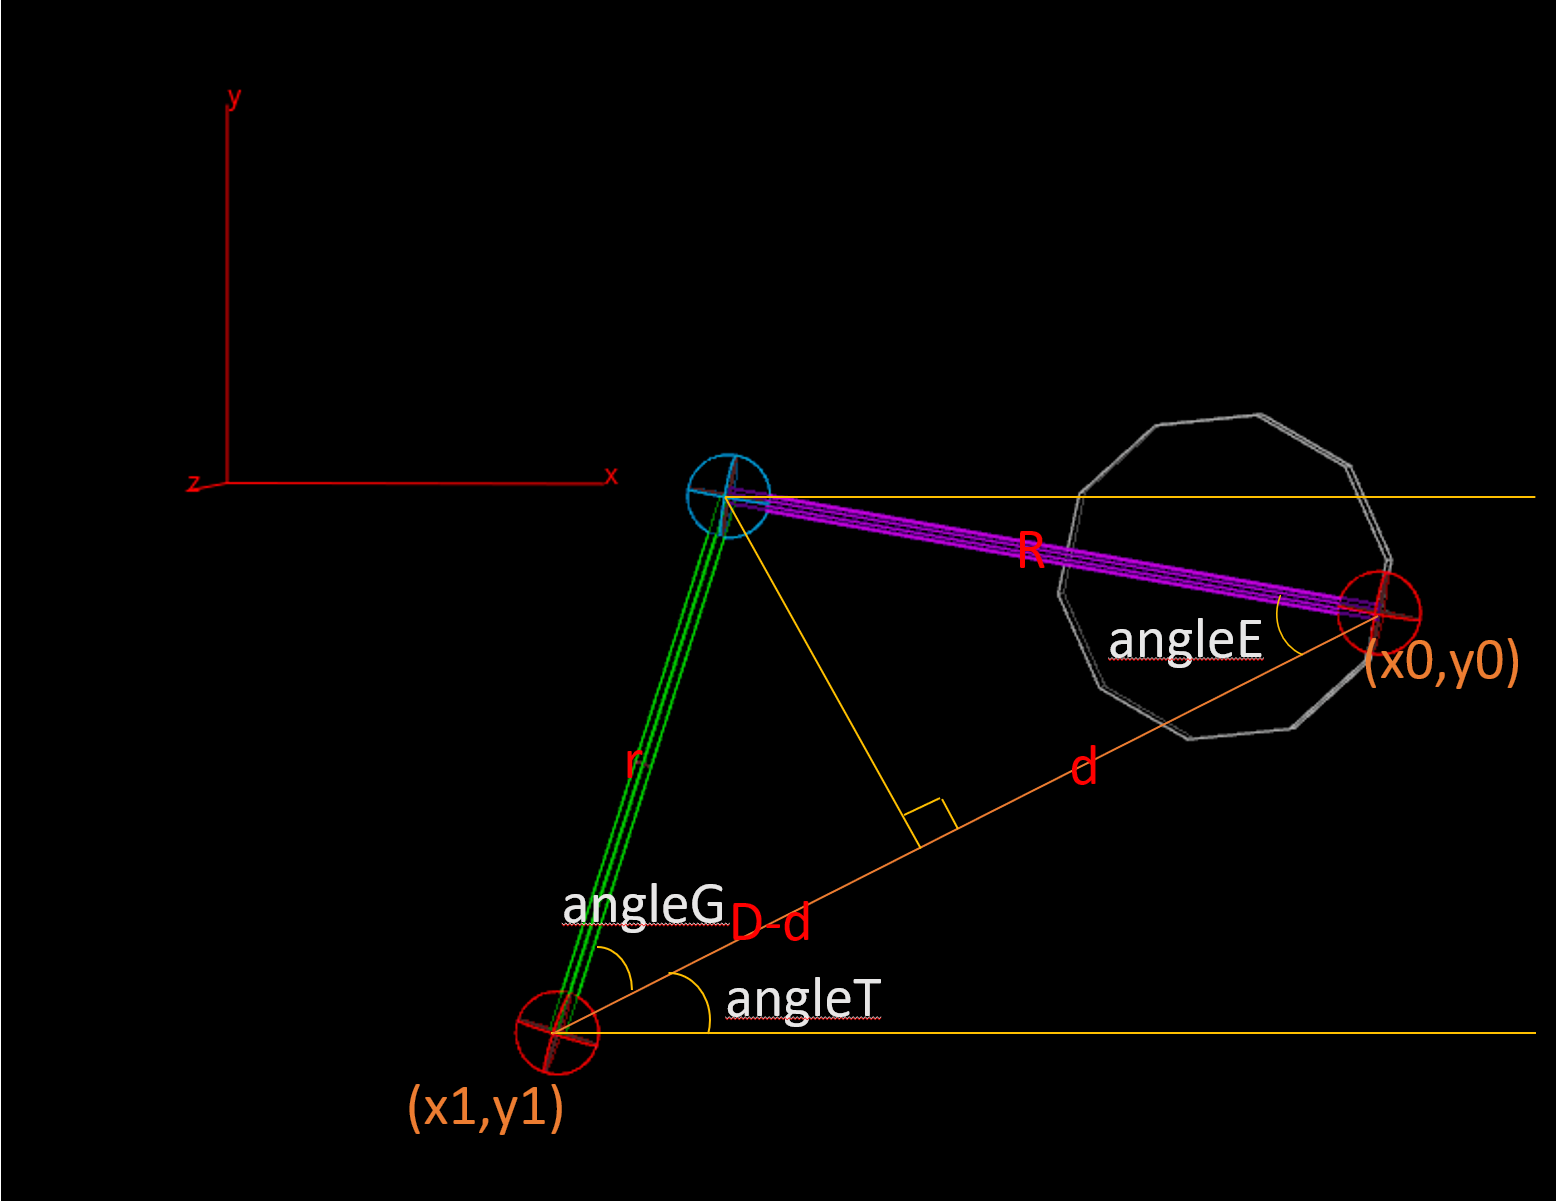

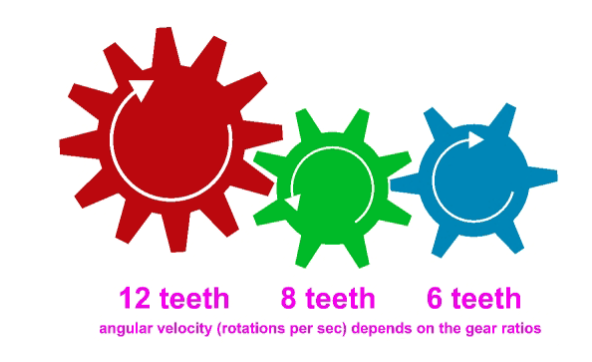
For the two-points constraints part, the only important thing is to calculate the “angleRotPurple” and “angleRotGreen”. Since the positions for points are already known, it is convenient to write vex code to generate what we need for transformation. As for the gear part, it is essential to acknowledge that the gear ratio is the key point that determines the angular velocity. Examples can be found on this site: http://deborahrfowler.com/MathForVSFX/GearRatio.html
- The Clamp simulation
To simulate the clamp along with the teabag movement, an RBD simulation is usually required in the production process. In this sim, the clamp and teabag are treated as active objects with rbd pin constraints, and the cup, as well as the hanging handle, act as static objects for collision purposes. Because it is the traditional RBD method, the volume collision proxy can provide better collision results. However, in this project, the Ray Intersect way still works as the collision objects are not too complicated. Notice that this is not the Packed geometry method for RBD objects, and all the active objects are calculated as geometry itself instead of points information. As a result, this method is not a suitable choice for massive collision circumstances.


- The dissolution effect simulation
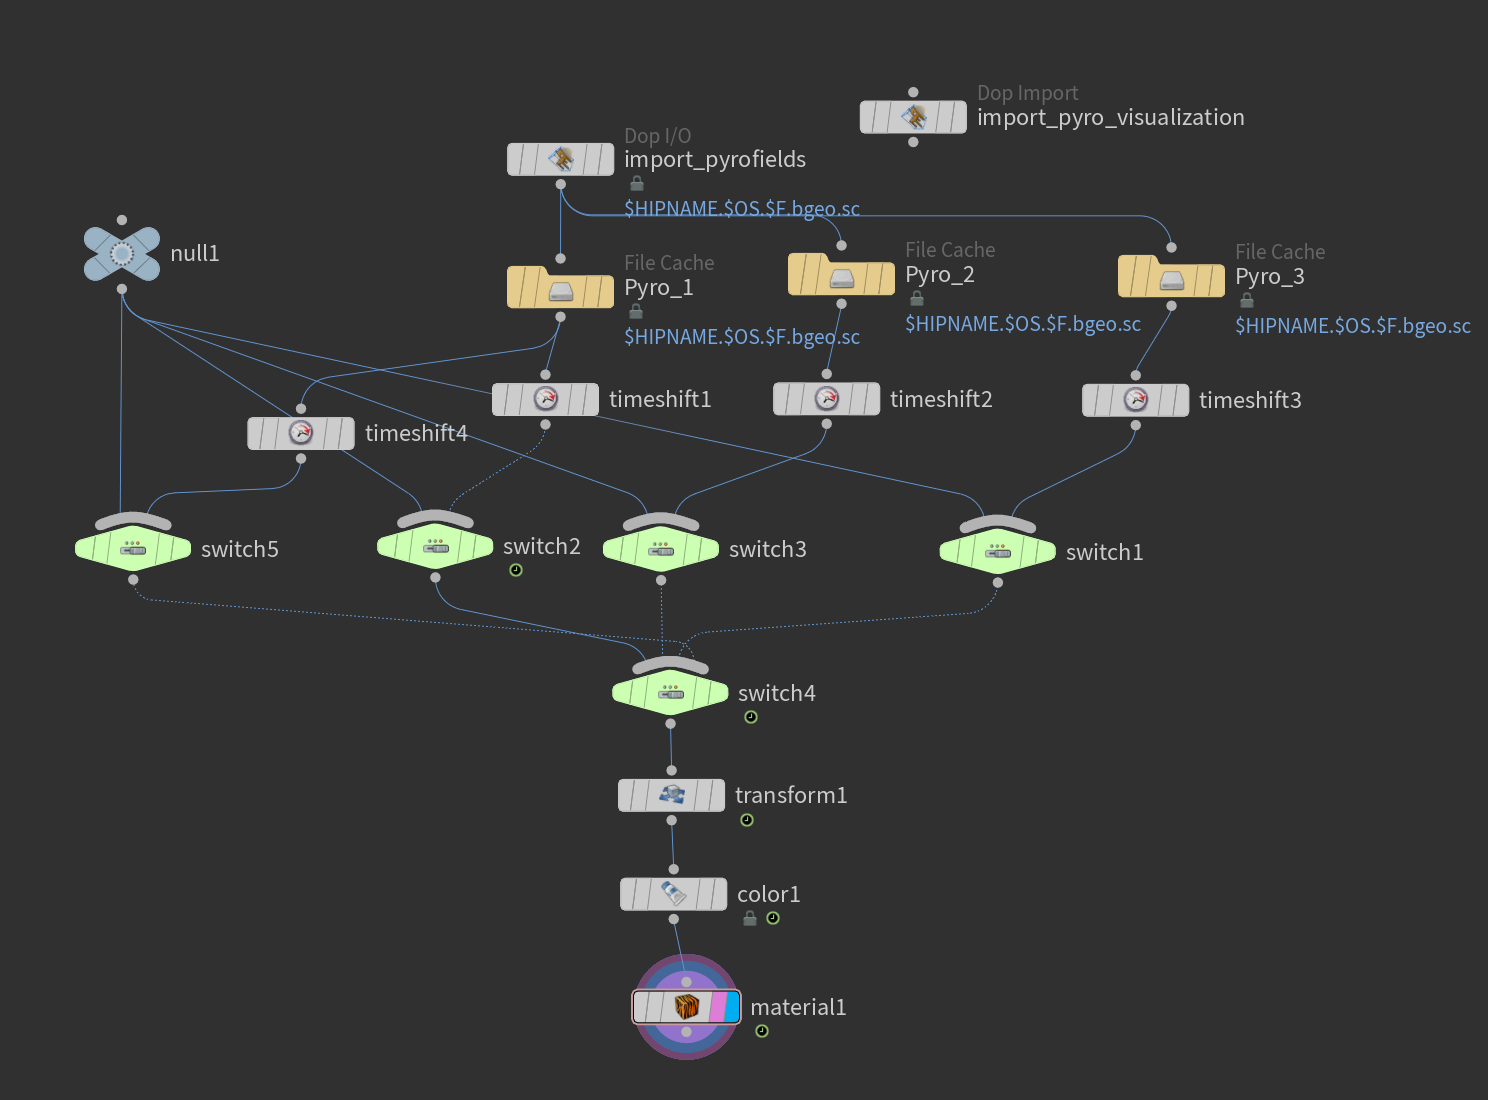
In the reference video, when the teabag is being pulled out of the water surface, the dissolution process begins, which changes the watercolor as time passes. To simulate this effect, color mix fluid simulation is a possible way that some artists posted on the website before. Nevertheless, It is time-consuming since multiple fields in fluid simulation need to be calculated at the same time. As a result, simulating smoke is a proper alternative. Basically, using the preset on the shelves named “Dry Ice” under the “Pyro FX” is an excellent start for tweaking the liquid smoke look since the buoyancy inside the preset configuration is a negative direction. When exporting from the dopnetwork, several simulation caches with offset noise in the smoke source can also ensure some randomness in the final render.
- Tips for fluid simulation and meshing
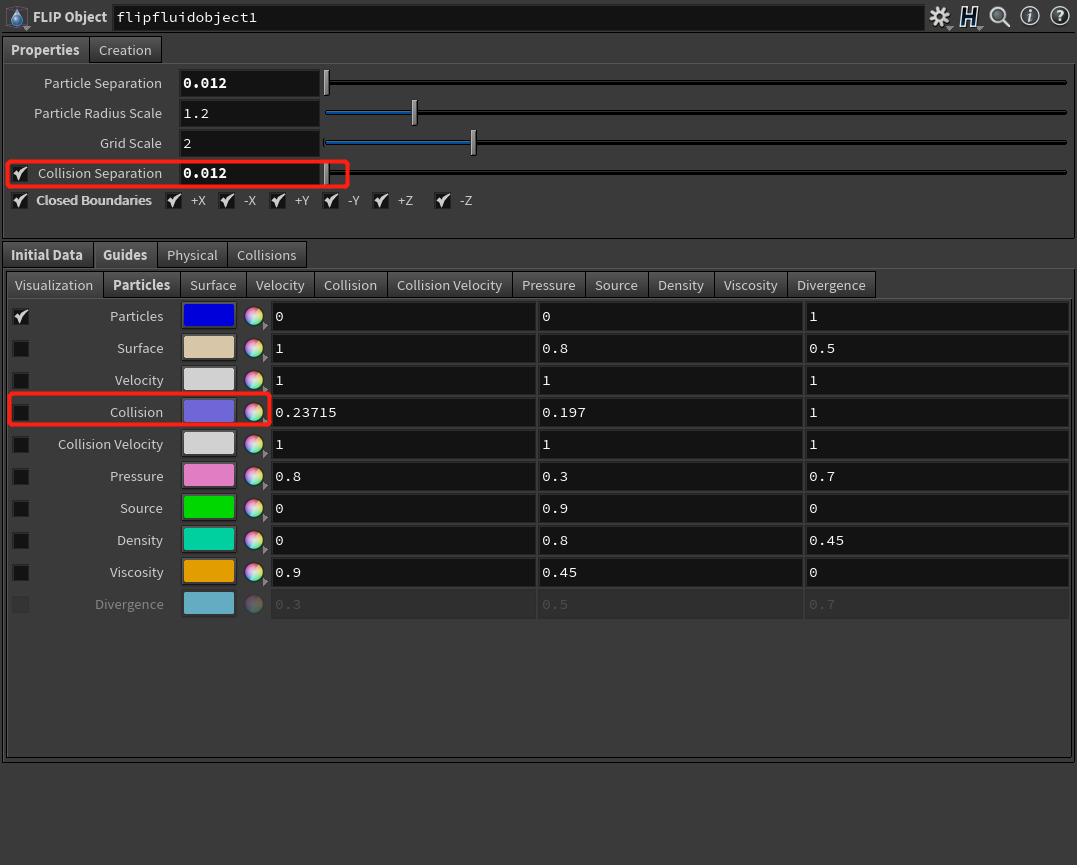
For the water simulation part, it is essential to acknowledge the scene scale and the necessity to simulate with real-world size. If the model is tiny, then more particle separation (voxel size) is demanded and will slow the whole process. An affordable way for fluid simulation is preparing an “appropriate size” model, not oversized or too small. During the simulation time, inside the “flip object” under the “Properties” tab, there is an option called “Collision Separation.” Usually, the flip solver calculates both flip particles and collision proxy at the same separation value. However, users can enable this option to break this connection to adjust the value independently for more accuracy. Also, remember to check the actual collision proxy shape by checking the “Collision” option under the “Visualization” tab. It helps to trace how the collision proxy changes with time, preventing possible flip particle volume loss.
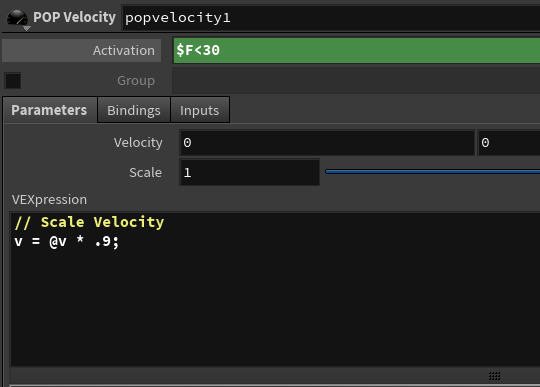
What is the “flip particle volume loss”? One answer is that the water level is gradually becoming lower than the previous status. In this website, the author offers a complete explanation about the solution: http://www.tokeru.com/cgwiki/index.php/title=HoudiniDops#Stopping_volume_loss. However, if the result is still not satisfying, try to enable the “reseeding” option in the “flip solver” node and adjust the “Death Threshold” value. The first several frames always are recognized as pre-simulation frames since the inner velocity causes the surface unstable. To speed up the waiting time, users can add a customized pop velocity ramp to the flip solver to scale the velocity to achieve an initial state sooner.
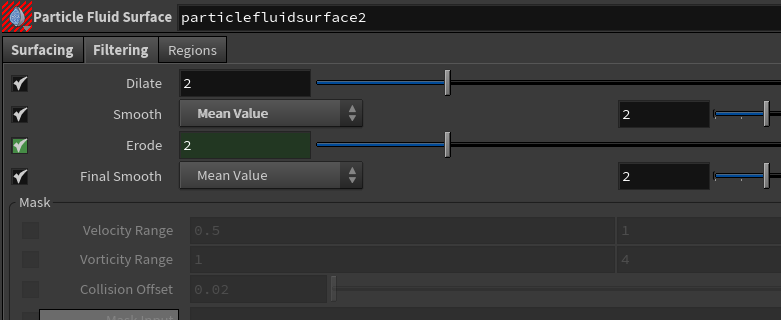
At the meshing step, the dilate and erode function is very useful for smoothing the mesh as the compressed cache always brings an ordinary particle state, causing the “little hole” look in the mesh surface. If the issue still occurs, try to subtract the output VDB with the collision volume using “Collision offset” under the “Regions” tab.
- Shader tips
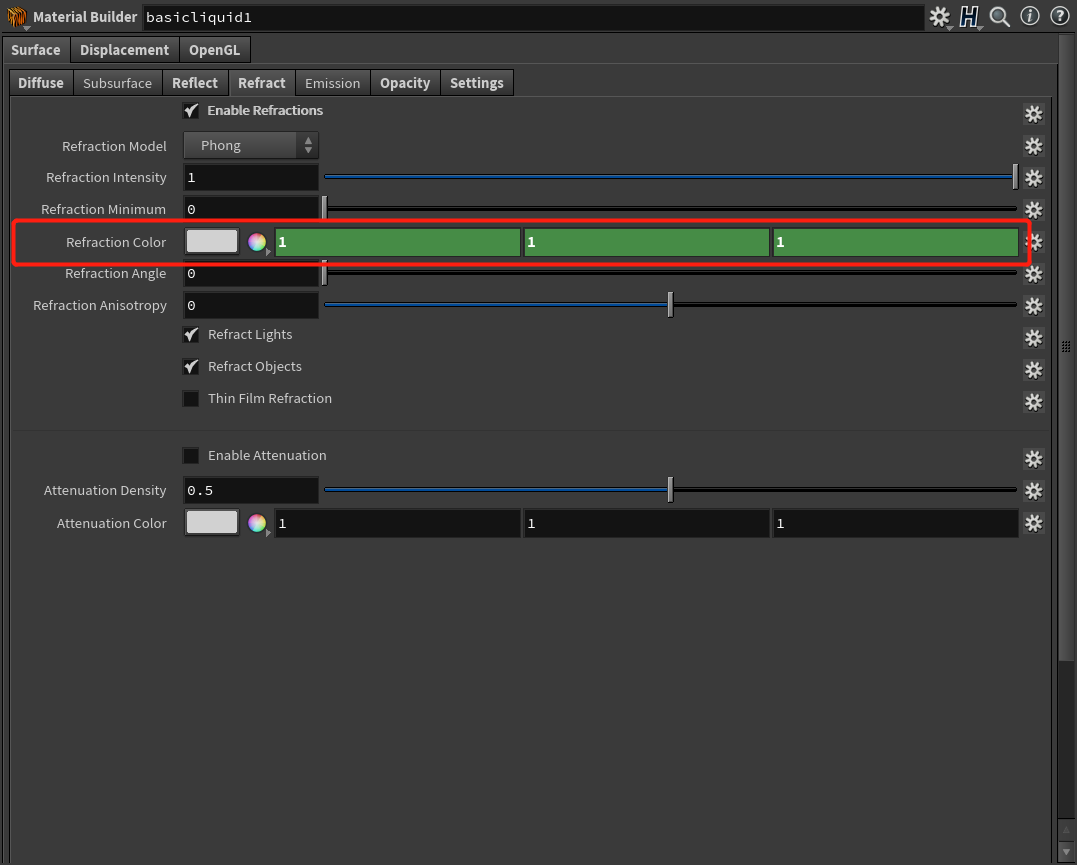
For the watercolor changes effect, simply keyframes the “refraction color” value in the “basicliquid” shader. This value controls the color of water appears to the surrounding environment since there is no actual “diffuse color” in the liquid shader.
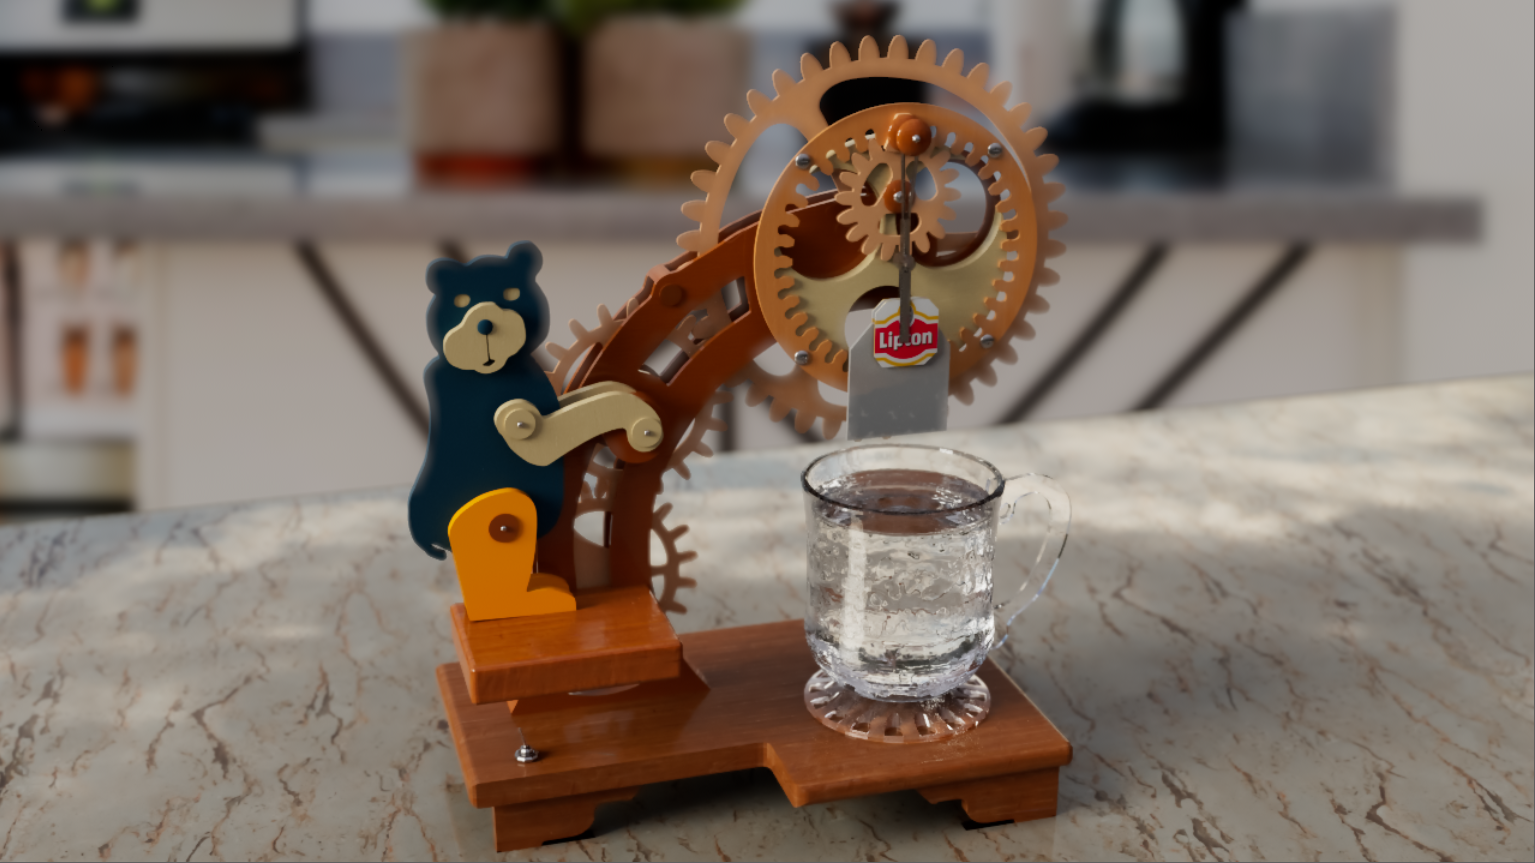
Results and further improvements
The general purpose of this project is to animate models through mathematics calculations. By combining several techniques in dynamic simulation, it is certain that plenty of elements contained in the reference video is presented successfully. However, there still lots of improvements needed for further revision, such as the teabag vellum simulation, the deforming wet map texture, and the transparency correction for the water mesh intersection with the teabag geometry.

